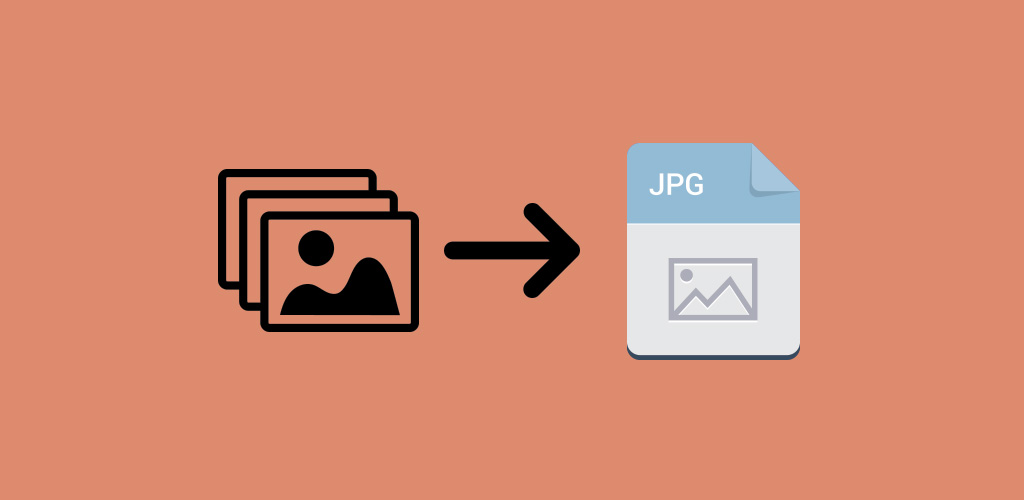
In this digital age, our smartphones serve as our primary cameras, and the iPhone has consistently been a front-runner in the smartphone photography game. While iPhones capture stunning images in their native formats, you may find yourself needing to convert these photos to JPG for various purposes, such as sharing, printing, or compatibility with other devices and platforms. In this comprehensive guide, we’ll walk you through the step-by-step process of converting iPhone photos to JPG format, ensuring you can make the most of your precious memories.
Section 1: Understanding Image Formats
Before diving into the conversion process, it’s crucial to understand the different image formats and why you might want to convert your iPhone photos to JPG.
1.1 What is JPG?
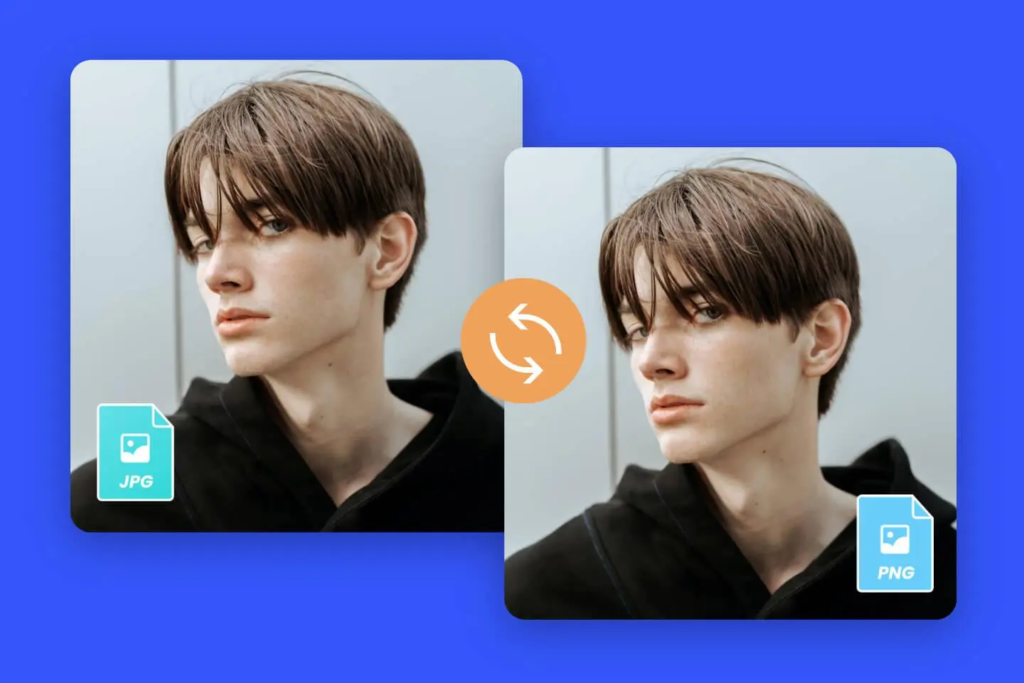
JPG, or JPEG, stands for Joint Photographic Experts Group, the organization responsible for developing this widely-used image format. JPG is known for its high compression and lossy compression technique, making it perfect for photographs. It balances image quality and file size, making it the preferred choice for sharing and displaying images on various platforms.
1.2 iPhone Native Formats
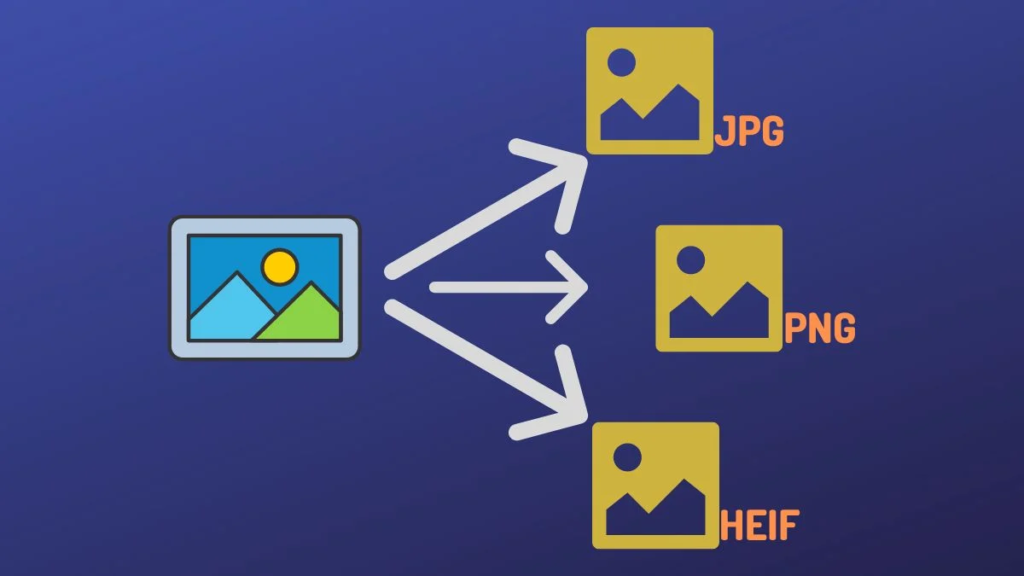
iPhones primarily capture photos in two formats: HEIC (High-Efficiency Image Format) and PNG (Portable Network Graphics). While these formats offer advantages in terms of quality and efficiency, they may not always be the best choice for universal compatibility.
Section 2: Choosing the Right Method for Conversion
There are several methods to convert iPhone photos to JPG. We’ll explore the most common and effective ones.
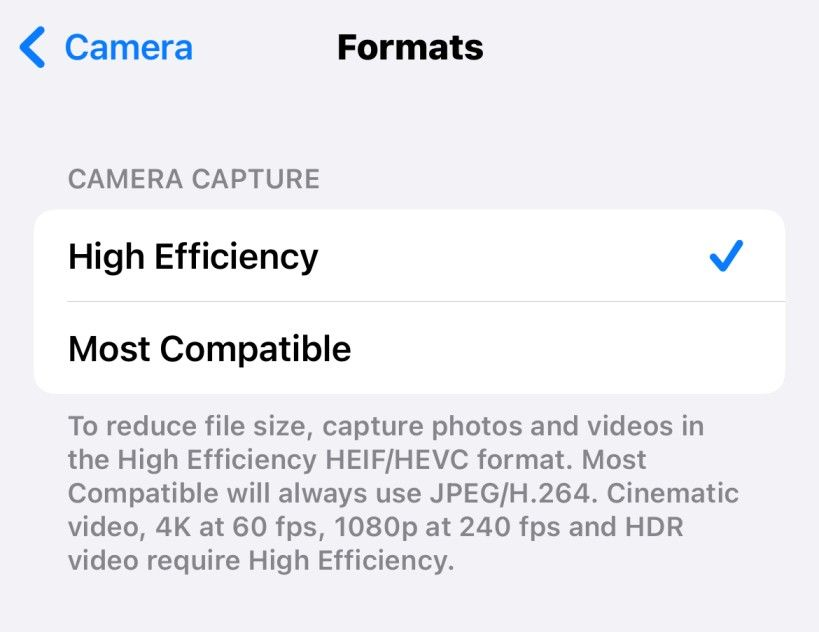
2.1 Method 1: Using the Built-in iPhone Converter
– Discuss how to convert photos directly on your iPhone using the built-in converter.
– Provide step-by-step instructions with screenshots.
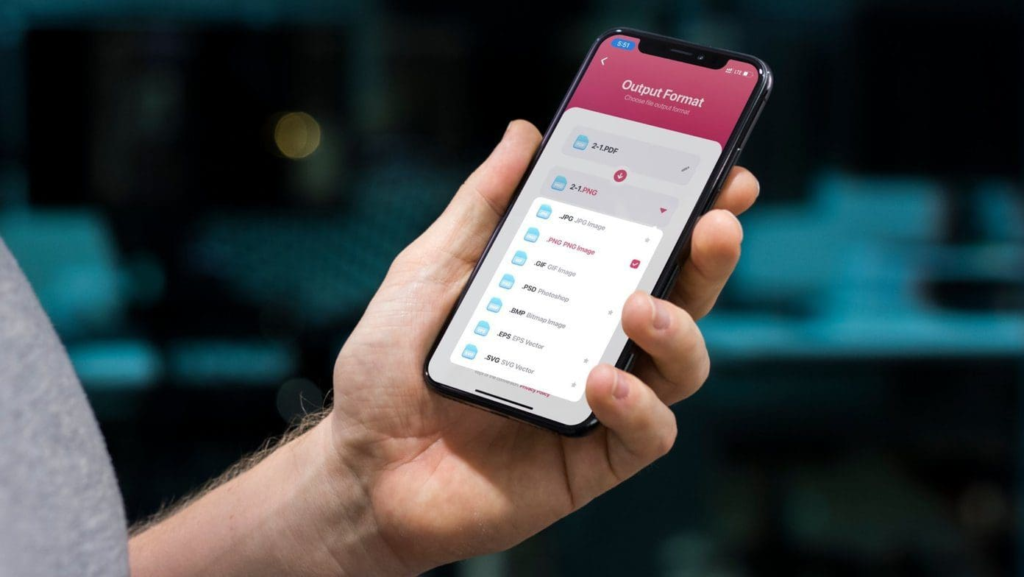
2.2 Method 2: Using Third-Party Apps
– Explore popular third-party apps available for converting photos.
– Compare different apps, highlighting their pros and cons.
– Offer a step-by-step guide for using one of these apps.
2.3 Method 3: Using Cloud Services
– Explain how cloud services like iCloud and Google Photos can be used for conversion.
– Discuss the advantages of cloud-based conversion.
– Provide a tutorial on converting photos via a cloud service.

Section 3: Step-by-Step Conversion Guide
Now, let’s delve deeper into a comprehensive step-by-step guide for each method, focusing on Method 1 (Built-in iPhone Converter) as the primary example.
3.1 Step-by-Step Guide for Using the Built-in iPhone Converter
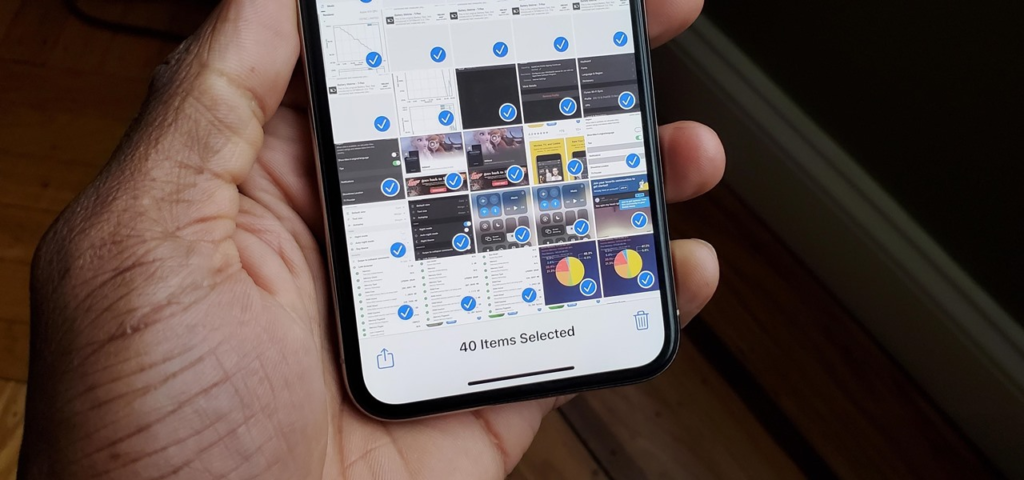
– Start with selecting the photos you want to convert.
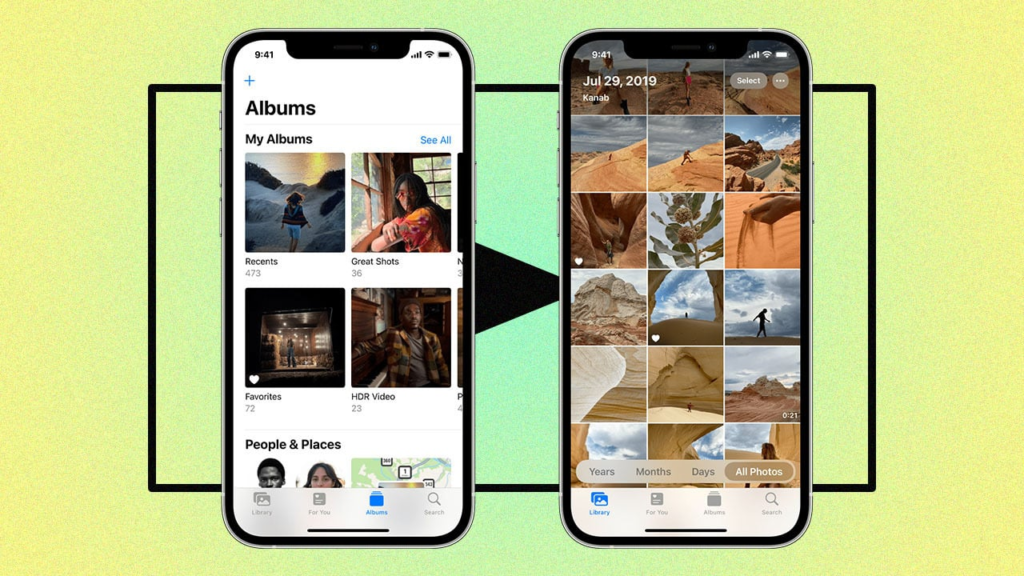
– Navigate to the Photos app on your iPhone.
– Explain how to access the format settings.
– Walk through the process of converting photos to JPG.
– Provide troubleshooting tips for common issues.
Section 4: Tips and Tricks
This section will provide additional tips and tricks for users looking to optimize their photo conversion experience.
4.1 Batch Conversion
– Discuss how to convert multiple photos at once for efficiency.
– Explain the benefits of batch conversion.
4.2 Preserving Image Quality
– Offer guidance on maintaining the best possible image quality during conversion.
– Discuss the trade-offs between quality and file size.
4.3 Organizing Converted Photos
– Share tips on how to organize and manage your newly converted JPG photos.
– Suggest naming conventions and folder structures.