Creating a partition on your PC can be a valuable skill to have, whether you want to organize your data, run multiple operating systems, or simply improve your system’s performance. In this comprehensive guide, we’ll walk you through the process of creating a partition on your PC step by step. By the end, you’ll have a clear understanding of how to create a partition safely and effectively.
1. Determine Your Needs
Before you start creating a partition, it’s essential to identify your specific needs. Consider why you want to create a partition in the first place. Common reasons include:
– Organization: Partitioning can help you better organize your data by separating personal files from system files, applications, or work-related documents.
– Multi-Boot Setup: If you plan to install multiple operating systems on your computer (e.g., Windows and Linux), you’ll need separate partitions for each OS.
– Performance Improvement: Creating a separate partition for your system files and applications can sometimes improve your PC’s performance, especially if you’re dealing with a traditional hard drive.
– Data Protection: By segregating your important files on a separate partition, you can reduce the risk of data loss if your operating system crashes or needs to be reinstalled.
– Privacy and Security: You can create an encrypted space to store sensitive data, adding an extra layer of security.
Determining your needs will help you decide how much space to allocate to the new space and what type of files or applications you’ll store there.


2. Backup Your Data
Before making any changes to your hard drive, it’s crucial to back up your important data. While the partitioning process is generally safe, there is always a slight risk involved, and you don’t want to lose your files in case something goes wrong. Consider using an external hard drive or a cloud storage service for added security. Ensure that your backup is up to date and includes all critical documents, photos, and other valuable data.

3. Choose the Right Tool
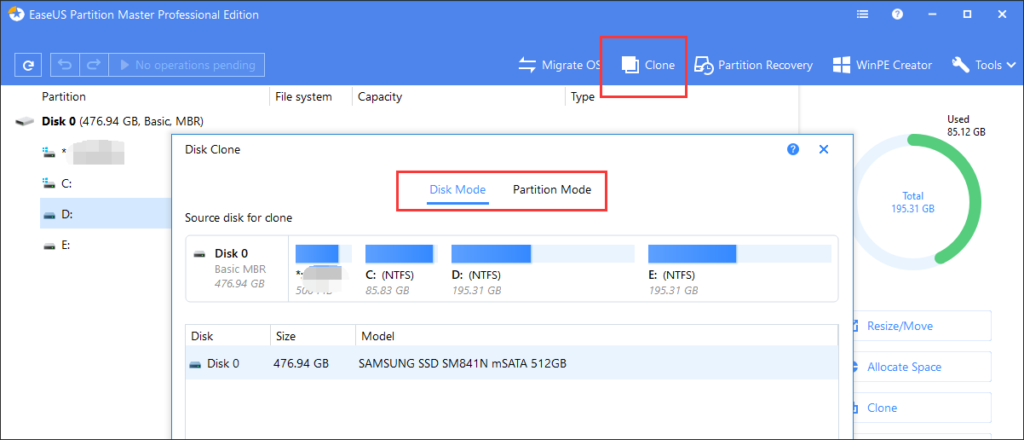
Decide whether to use the built-in tools provided by your operating system or third-party partitioning software. For this guide, we’ll focus on using Windows Disk Management, which is available in most Windows versions. Third-party tools, like EaseUS Partition Master or MiniTool Wizard, offer more advanced features but may come with a price tag.

4. Access Disk Management
To access Windows Disk Management:
– Press “Windows + X” on your keyboard.
– From the menu that appears, select “Disk Management.”
– Alternatively, right-click on the “Start” button and choose “Disk Management” from the context menu.

5. Identify Your Drive
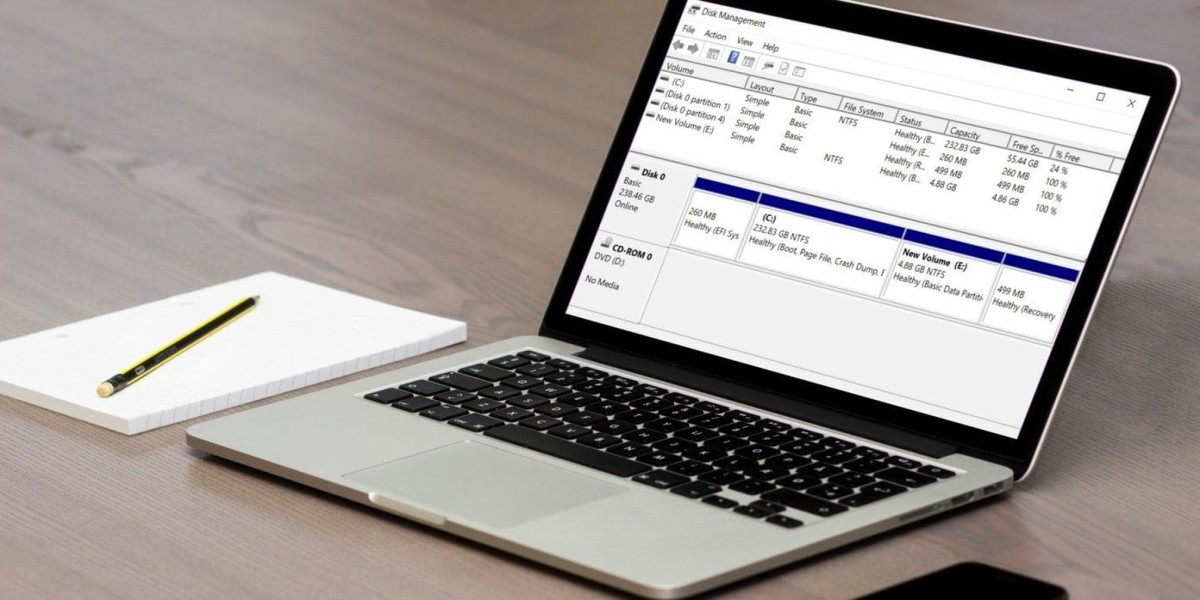
In the Disk Management window, you’ll see a list of all available drives. These can include your primary hard drive, secondary hard drives, and external drives. Identify the drive you want to partition, right-click on it, and choose “Shrink Volume.”

6. Shrink the Volume
When you select “Shrink Volume,” a window will appear, allowing you to specify how much space you want to allocate for the new partition. Windows will suggest a suitable size based on available free space, but you can adjust this size as needed. Keep in mind that the size you allocate here will be the size of your new partition.

7. Create a New Partition
After shrinking the volume, you’ll see unallocated space on your drive. This unallocated space is what you’ll use to create your new partition. Right-click on the unallocated space and select “New Simple Volume.”

8. Wizard Guidance
The “New Simple Volume Wizard” will guide you through the process of creating the new partition. Follow these steps:
– Assign Drive Letter or Path: Choose a drive letter (such as D:, E:, etc.) or path (a custom folder) for your new partition. This will be how you access it in File Explorer.
– File System and Allocation Unit Size: Choose the file system for your partition. For most users, NTFS is the best choice, as it supports large file sizes and offers security features. You can also select the allocation unit size; the default size is usually suitable for general use.
– Volume Label: Name your partition. This label will help you easily identify the partition’s purpose.

9. Format the Partition
Select “Format this volume with the following settings” and review your choices. Click “Finish” to format the partition. Formatting prepares the partition for use by creating a file system structure on it.

10. Final Checks
Once you’ve completed the partition creation process, check to ensure everything is working as expected:
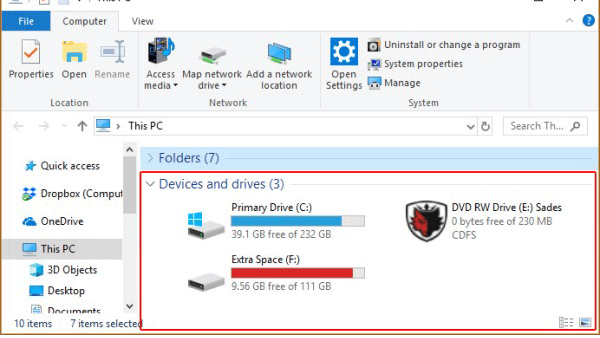
– Verify that the new partition appears in File Explorer.
– Test it by creating and deleting files to ensure it functions correctly.

11. Restore Backups
Now that your new partition is ready, you can copy your backed-up files and documents to it. This ensures that your data is safe and accessible from the new partition.

12. Additional Tips
Here are some additional tips to consider:
– Regularly maintain and organize your partitions to keep your PC running smoothly. Over time, you may need to resize or delete partitions if your needs change.
– Keep your operating system and software up to date, as updates often include improvements for managing and using partitions.
– Monitor your disk space usage to avoid filling up partitions and causing performance issues.


1 Comment