Have you ever found yourself scrolling through the vast collection of photos on your iPhone, desperately trying to locate that one particular picture from a memorable event or a cherished moment? With the ever-increasing number of photos we take, it can become quite a challenge to manage and find specific images. Fortunately, Apple has incorporated powerful image recognition and search features into their iOS operating system, making it easier than ever to locate photos based on who or what is in them. In this comprehensive guide, we’ll walk you through the step-by-step process of finding a photo on your iPhone based on the people or objects captured in it.
Step 1: Enable iCloud Photos
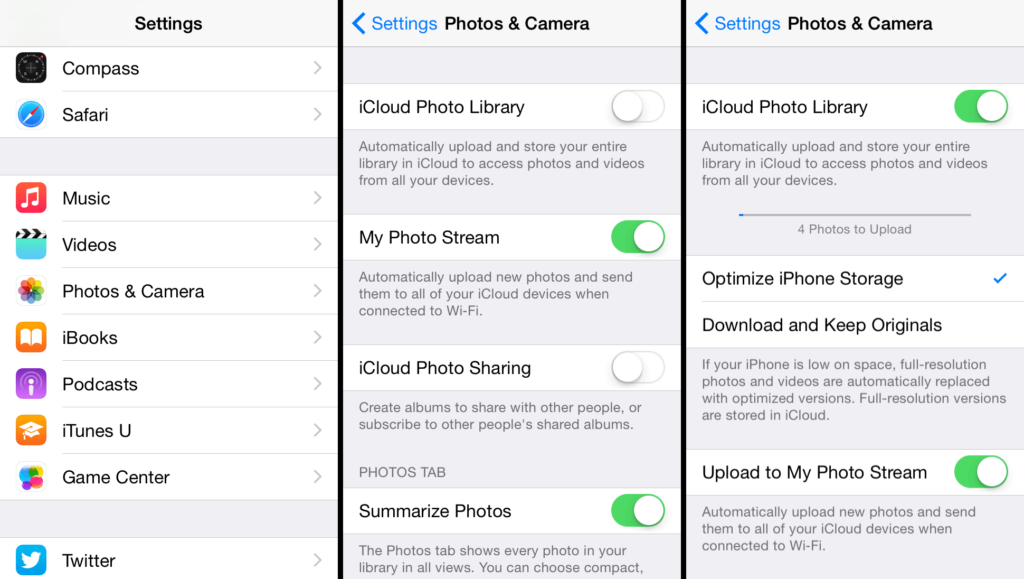
Before diving into the various methods of searching for photos, ensure that you have iCloud Photos enabled on your iPhone. iCloud Photos automatically uploads your photos and videos to the cloud, making them accessible across all your Apple devices. To enable iCloud Photos:
– Go to Settings on your iPhone.
– Scroll down and tap on Photos.
– Toggle on iCloud Photos.
Once enabled, your photos will begin syncing to iCloud, making them available for searching and access from other devices.
Step 2: Use the Photos App Search Bar
The simplest way to find a photo on your iPhone is by using the built-in search bar in the Photos app. Here’s how:
– Open the Photos app.
– Tap the For You tab.
– Scroll down to the People & Pets or Objects section.
Here, you’ll find automatically created categories of people and objects that appear in your photos. Tapping on a specific category will display all photos related to that person or object.

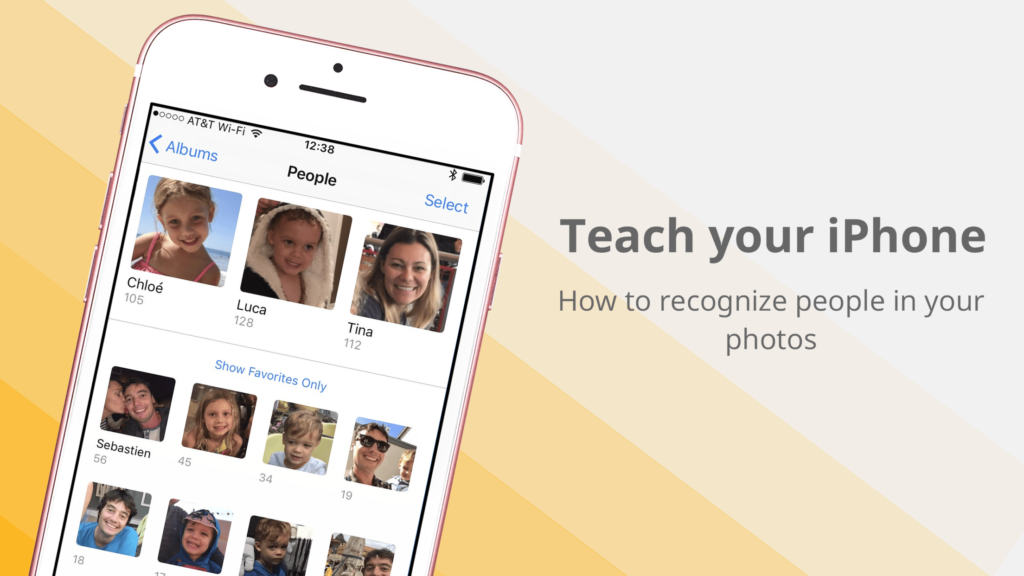
Step 3: Utilize People & Object Tags
iOS automatically identifies and tags photos with people and object labels. To leverage these tags for finding photos:
– Open the Photos app.
– Tap the For You tab.
– Scroll down to the People & Pets or Objects section.
Here, you’ll find automatically created categories of people and objects that appear in your photos. Tapping on a specific category will display all photos related to that person or object.
Step 4: Search by Date and Location
Finding a photo based on when and where it was taken is also straightforward:
– Open the Photos app.
– Tap the Photos tab at the bottom.
– Scroll down until you see the Years section. Tap on the year you want to explore.
– Within a year, you’ll find sections for Months and Days. Tap on the month and day that corresponds to when the photo was taken.
– If you know the location, you can also tap on a photo and then tap the Info button (i), which will show you the location on a map.
This method is handy for locating photos from specific events or trips.

Step 5: Create Albums and Favourites
Organizing your photos into albums and marking favourites can streamline the search process:
– Open the Photos app.
– Select the photo you want to add to an album or mark it as a favorite.
– Tap the Share icon (a square with an arrow pointing up).
– Choose Add to Album or Favorite
By creating albums for specific occasions or categories, you can easily access related photos without having to search for them individually.

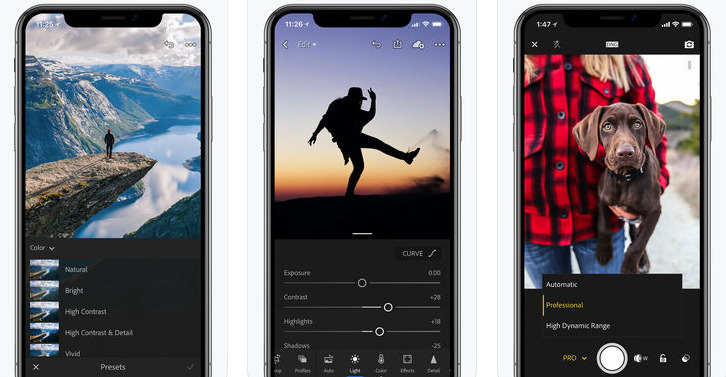
Step 6: Third-Party Apps for Advanced Searching
If you require more advanced search capabilities, consider using third-party apps like Google Photos or Adobe Lightroom. These apps offer powerful search features, including the ability to search for photos using complex queries, such as “photos of beaches taken at sunset.”
To use third-party apps for photo searching:
– Download and install the app from the App Store.
– Follow the app’s setup and synchronization instructions.
– Utilize their search features to find photos based on your criteria.
These apps often provide more granular control over your photo library and offer enhanced search algorithms.