
Installing Android Studio on your PC is a straightforward process. Android Studio is the official Integrated Development Environment (IDE) for Android app development. Here are step-by-step instructions on how to install Android Studio
Step to Launch Android Studio
Step-1 Check System Requirements:
Before you begin, make sure your PC meets the minimum system requirements for Android Studio. These requirements can change with different versions, so it’s a good idea to check the official documentation for the latest information. Generally, you will need:
- A 64-bit Windows, macOS, or Linux operating system.
- A minimum of 8GB RAM (16GB recommended).
- At least 4GB of disk space for Android Studio and its components.
- A display with a minimum resolution of 1280 x 800 pixels.
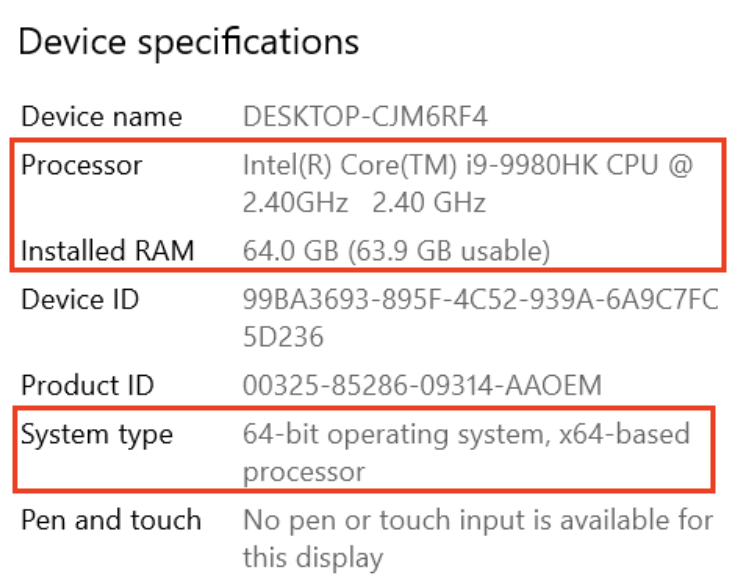
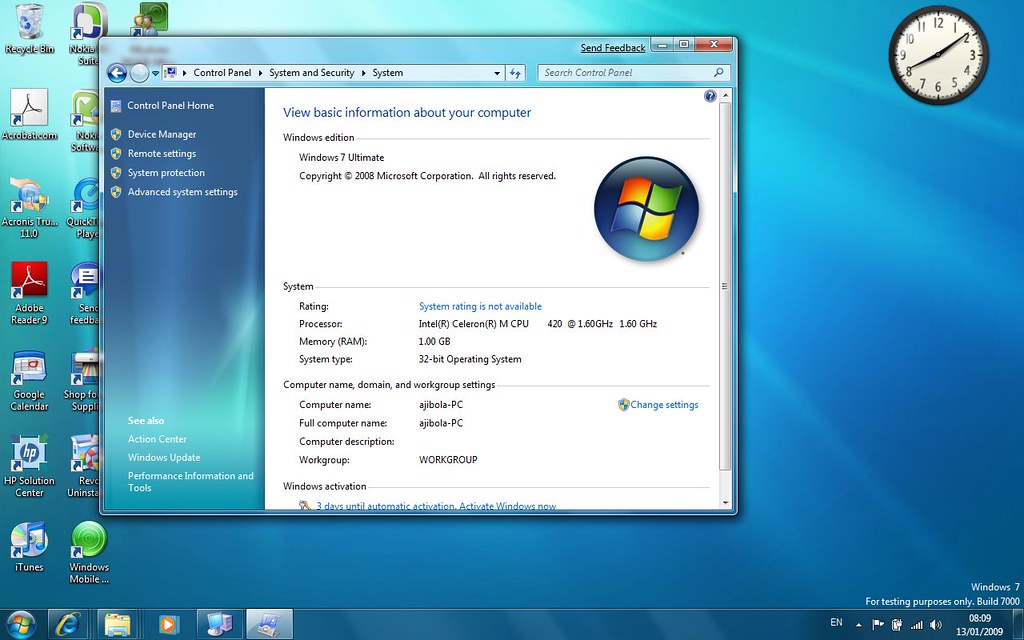
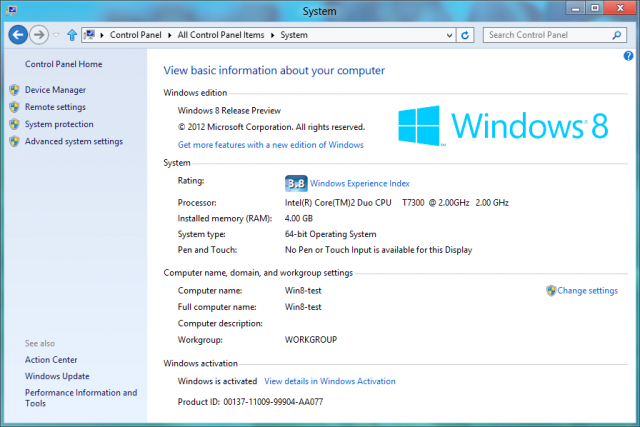
Where to Find System Configuration
System configuration settings in Windows, macOS, and Linux can vary in location and accessibility. Here’s how you can find system configuration settings in each of these operating systems
For Windows
Control Panel (Windows 7 and earlier):
- Click on the “Start” button.
- Type “Control Panel” in the search box and press “Enter.”
- In the Control Panel, you’ll find various options for configuring your system, including hardware and software settings.
Settings App (Windows 8, 8.1, and 10):
- Click on the “Start” button or press the “Windows” key.
- Click on the “Settings” (gear-shaped) icon in the Start Menu.
- In the Settings app, you’ll find various categories like System, Devices, Update & Security, etc., where you can configure your system settings.
For Mac
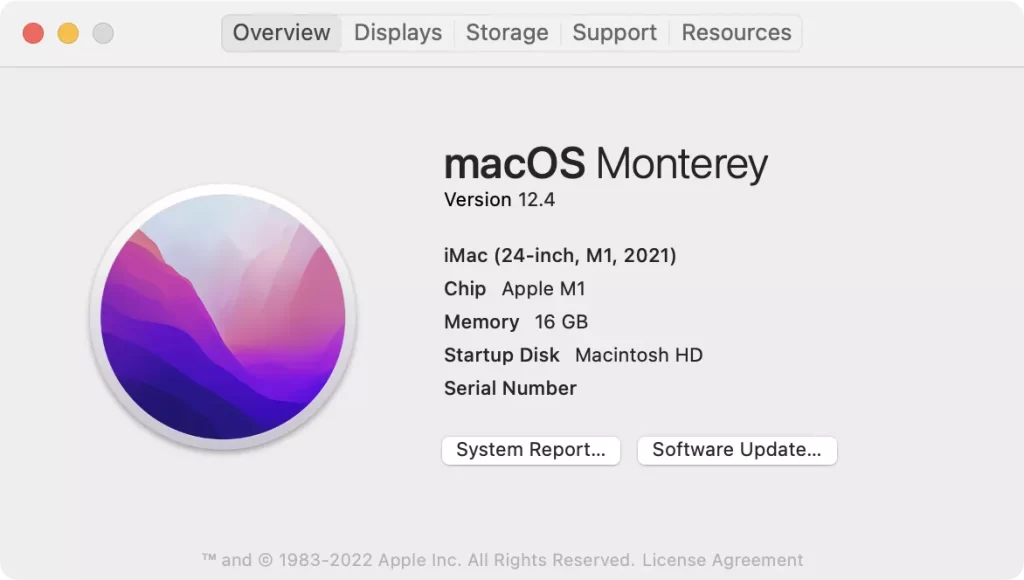
System Preferences:
- Click on the Apple logo in the top-left corner of the screen.
- Select “System Preferences” from the dropdown menu.
- In the System Preferences window, you’ll find various icons representing different categories of system settings, such as General, Display, Sound, etc
For Linux (Ubuntu – GNOME Desktop Environment as an example)
Settings App:
- Click on the “Activities” button (usually in the top-left corner or triggered by pressing the “Super” key, similar to the Windows key).
- Type “Settings” in the search bar and press “Enter.”
- In the Settings app, you’ll find various categories for configuring your system settings, including Wi-Fi, Display, Sound, etc.
Control Center (Linux Mint – Cinnamon Desktop Environment as an example):
- Click on the menu icon in the bottom-left corner.
- Select “Control Center” from the menu.
- In the Control Center, you’ll find various icons representing different categories of system settings, similar to macOS System Preferences.
Please note that the location and layout of system configuration settings may vary depending on the specific version of Windows, macOS, or Linux you are using and the desktop environment (for Linux) you have installed. Additionally, some Linux distributions may have unique tools or configurations for system settings.
For advanced system configurations or troubleshooting, you may need to use command-line utilities and configuration files, which can vary widely across different versions of these operating systems.
Step-2:Download Android Studio
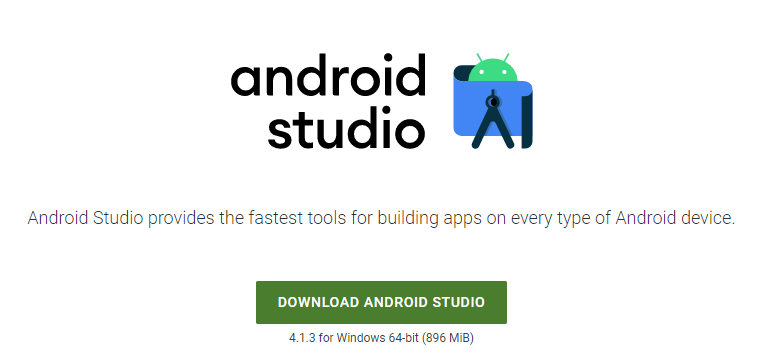
- Open your web browser and go to the official Android Studio download page: https://developer.android.com/studio.
- Click on the “Download Android Studio” button.
- Choose the appropriate download for your operating system (Windows, macOS, or Linux).
Step 3: Install Android Studio

For Windows:
- Locate the downloaded setup file (usually named something like
android-studio-ide-XYZ.Y.Z.Z-windows.exe) and double-click it to run the installer. - Follow the on-screen instructions in the installer.
- Choose the components you want to install. Typically, you should install Android Studio, Android Virtual Device (AVD) for the emulator, and the SDK components.
- Choose the location where you want to install Android Studio and Android SDK.
- Configure any other preferences as needed during the installation.
- Click “Next” or “Finish” to complete the installation process.
For macOS:
- Locate the downloaded DMG file (usually named something like
android-studio-ide-XYZ.Y.Z.Z-mac.dmg) and double-click it to mount the disk image. - Drag and drop the Android Studio icon into the “Applications” folder to install it.
- Navigate to the “Applications” folder, find Android Studio, and open it.
For Linux:
- Open a terminal.
- Navigate to the directory where you downloaded the Android Studio package.
- Extract the package using the following command (replace
android-studio-XYZ.Y.Z.Z-linux.tar.gzwith the actual filename): - Copy code :-
tar -xzvf android-studio-XYZ.Y.Z.Z-linux.tar.gz - Move the extracted folder to a location of your choice (e.g.,
/optfor system-wide installation or your home directory for local installation). - Navigate to the
android-studio/bindirectory inside the extracted folder and runstudio.shto start Android Studio.
Step-4 First Launch and Setup

- When you first run Android Studio, it will ask you to import settings from a previous installation. You can choose to configure it as you prefer or use the default settings.
- Android Studio will check for and install any additional SDK components that are required.
- Follow the setup wizard to configure the Android Virtual Device (AVD) for testing your apps on an emulator.
- Once the setup is complete, you’re ready to start developing Android apps!
That’s it! You’ve successfully installed Android Studio on your PC. You can now start creating, testing, and developing Android applications using this powerful IDE.