
Installing Windows on a PC is a fundamental task for anyone looking to set up or upgrade their computer. Whether you’re building a new system or replacing an existing operating system, this guide will take you through the process, step by step. Everything you need to know to successfully install Windows on your PC.
Step 1: Gathering Your Materials
Before you start, make sure you have the following materials ready:
– A blank USB drive with at least 8GB of storage.
– A valid Windows product key (if you’re using a paid version).
– Your PC hardware components (CPU, RAM, motherboard, storage devices, etc.).
– A stable internet connection (optional but recommended for updates).

Step 2: Preparing Your PC
Before installing Windows, ensure your PC meets the minimum system requirements for the version of Windows you want to install. Additionally, back up any important data on your computer to prevent data loss during the installation process.
Step 3: Creating a Windows Installation Media
To proceed, you’ll need to create a bootable USB drive with the Windows installation files. Here’s how:
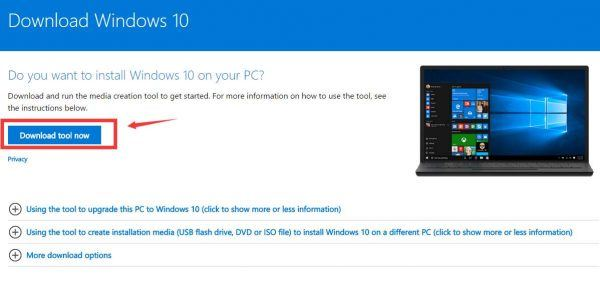
a. Download the Windows Media Creation Tool from the official Microsoft website.
b. Insert the blank USB drive into your computer.
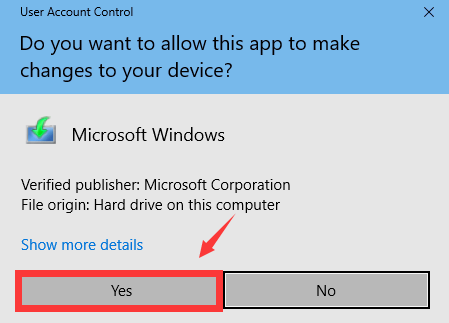
c. Run the Media Creation Tool and follow the on-screen instructions to create the installation media.
d. Once the tool finishes, you’ll have a bootable USB drive ready for installation.
Step 4: Installing Windows
Now that you have your installation media ready, it’s time to install Windows:
a. Insert the bootable USB drive into your PC.
b. Power on your computer and press the appropriate key (usually F2, F12, or Delete) to enter the BIOS or UEFI settings.
c. In the BIOS/UEFI settings, set the USB drive as the primary boot device.
d. Save your changes and restart your computer. It should boot from the USB drive.
e. Follow the on-screen instructions to start the Windows installation process.
f. Choose your language, time, currency, and keyboard preferences.
g. Enter your Windows product key when prompted. If you don’t have one, you can skip this step, but you’ll need to activate Windows later.
h. Select the partition where you want to install Windows or create a new partition if necessary.
i. Follow the prompts to complete the installation. Your PC will restart several times during this process.
Step 5: Setting Up Windows
After the installation is complete, you’ll need to configure Windows:
a. Choose your region and language settings.
b. Connect to a network (if you didn’t do this during the installation).
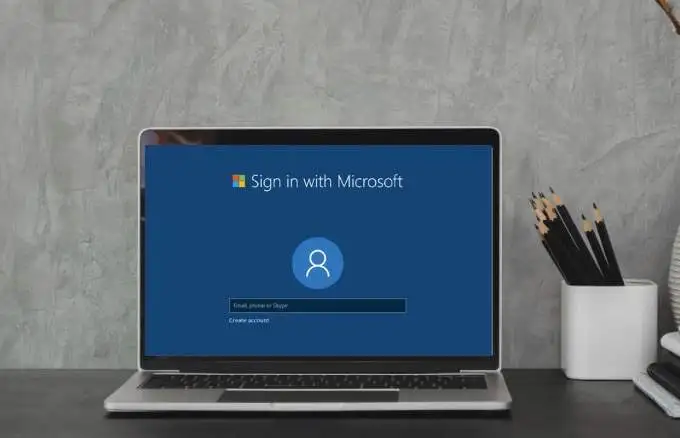
c. Sign in with a Microsoft account or create a local account. You can also skip this step and create an account later.
d. Customize your settings, such as privacy preferences and automatic updates.
e. Wait for Windows to finalize the setup.

Step 6: Post-Installation Steps
Now that Windows is installed, it’s time to complete a few post-installation steps:
a. Install device drivers for your hardware components, such as graphics cards, sound cards, and network adapters. You can often find these drivers on the manufacturer’s website.
b. Install essential software, such as web browsers, antivirus, and productivity tools.
c. Activate Windows if you skipped the product key entry during installation. Go to “Settings” > “Update & Security” > “Activation” to enter your key.
Troubleshooting Common Issues
If you encounter any issues during the installation process, refer to the troubleshooting section in the official Microsoft Windows installation guide or seek help online from Windows support forums.