Hair extensions are a fantastic way to instantly transform your look and add length, volume, or even a pop of color to your hair. However, like natural hair, hair extensions can suffer from wear and tear over time. Instead of tossing them out and spending money on new ones, why not learn how to repair your hair extensions?
Part 1: Assessing the Damage
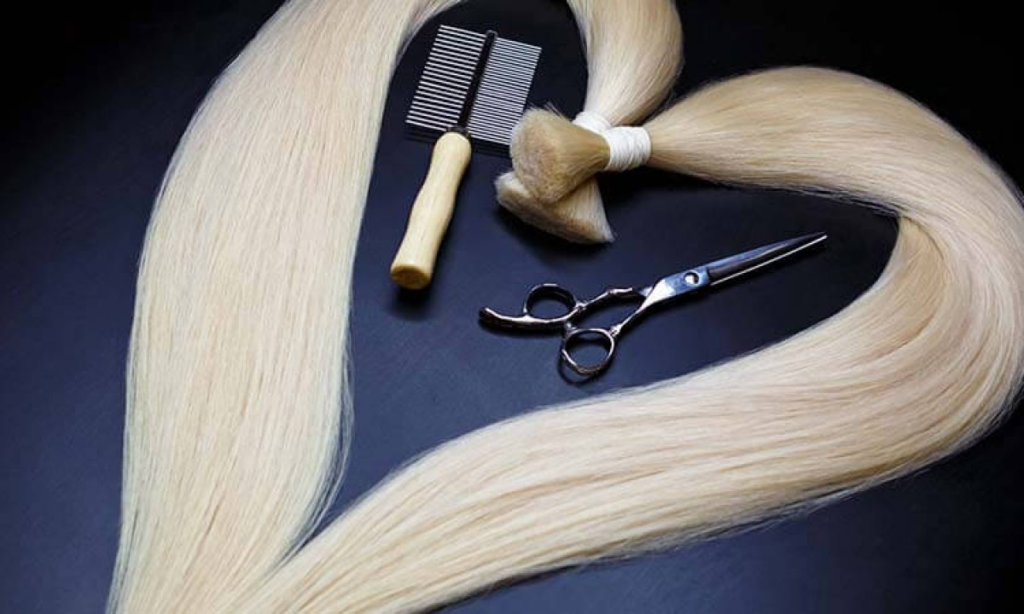
Step 1: Gather your tools and materials
Before you begin, make sure you have the following items on hand:
– Hair extension needle and thread (a curved needle is preferable)
– Replacement hair for damaged extensions (similar color and texture)
– Hair extension clips
– Comb
– Scissors
– A towel or soft cloth
– A flat surface to work on
Step 2: Inspect your hair extensions
Carefully examine your hair extensions for damage. Look for:
– Tangled or matted hair
– Loose or missing strands
– Broken clips or wefts
– Split ends
Identifying the extent of the damage will help you plan your repair strategy effectively.
Part 2: Detangling and Cleaning
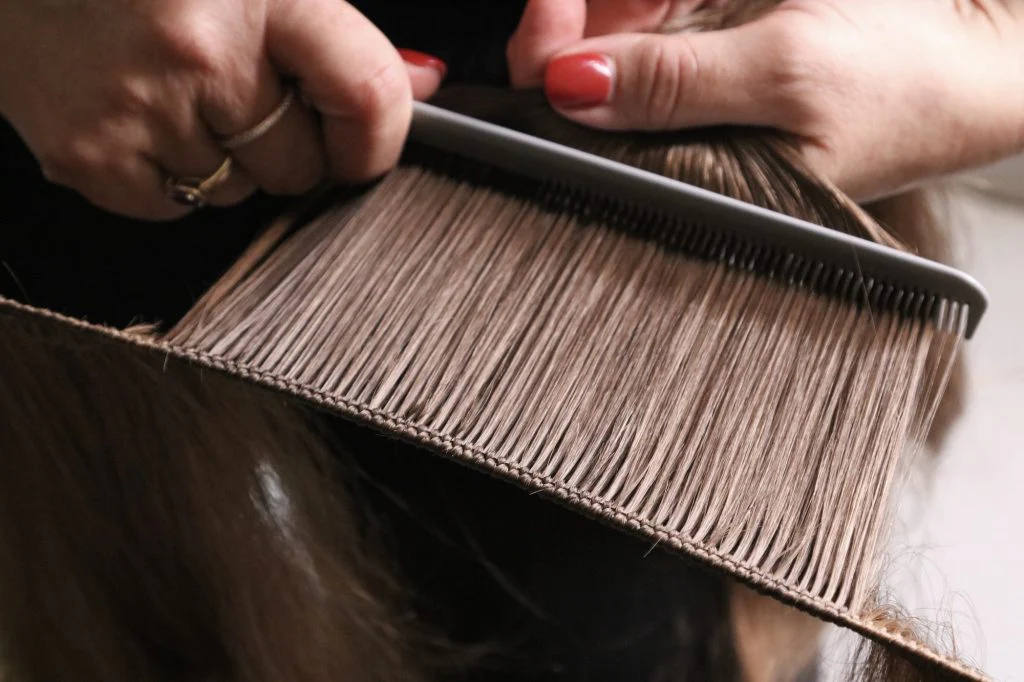
Step 1: Detangle the hair
Use a comb to gently detangle any knots or mats in your hair extensions. Start at the ends and work your way up to avoid causing more damage.
Step 2: Wash the extensions
Fill a sink or basin with lukewarm water and add a mild sulfate-free shampoo. Submerge the extensions and gently swish them around. Rinse thoroughly with cool water until the water runs clear.
Step 3: Condition the hair
Apply a silicone-free conditioner to the extensions, focusing on the mid-lengths and ends. Leave it on for a few minutes, then rinse it out.
Step 4: Pat dry
Wrap the extensions in a clean towel or soft cloth to absorb excess water. Avoid wringing or twisting, as this can damage the hair.
Part 3: Replacing Missing Hair
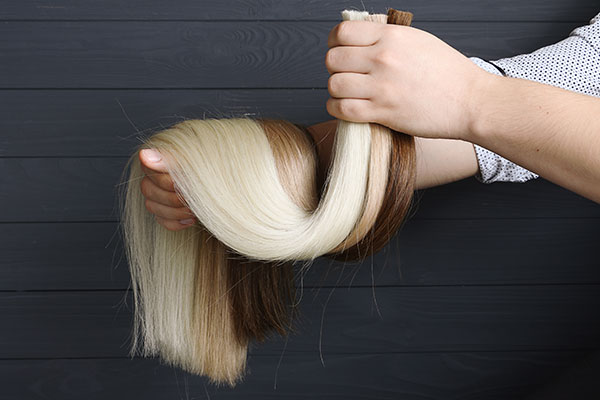
Step 1: Determine the hair replacement needs
If you have missing or damaged strands in your extensions, you’ll need to replace them. Match the color and texture of the replacement hair as closely as possible to the original.
Step 2: Prepare the replacement hair
Cut the replacement hair into the desired length, making sure it matches the length of the existing strands on your extensions.
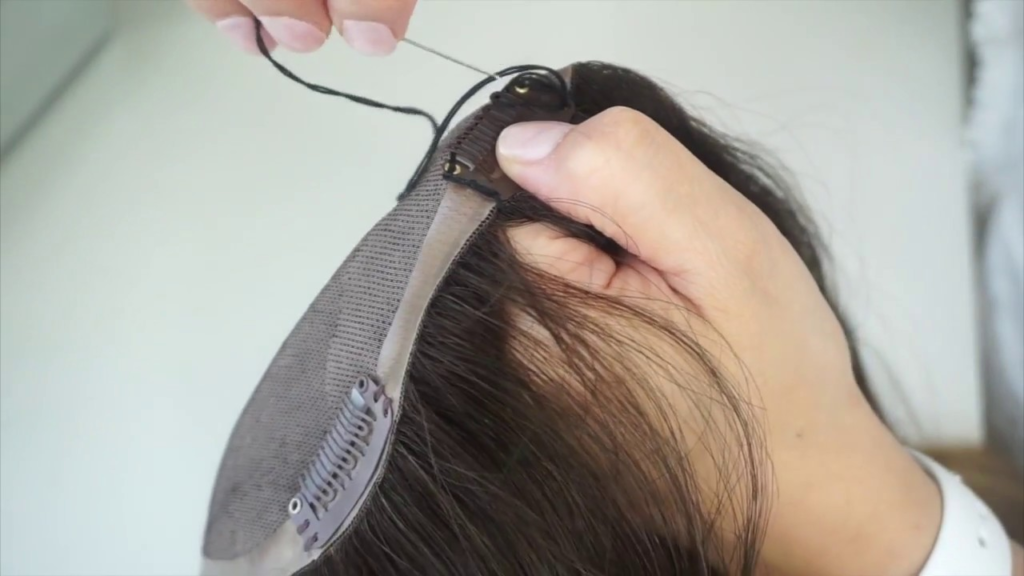
Step 3: Thread the needle
Thread your hair extension needle with a thread color that closely matches the hair color.
Step 4: Attach the replacement hair
Take a small section of the replacement hair and fold it in half. Use the needle to sew it into the weft of the extension where the missing hair should be. Repeat this process for all damaged or missing sections.
Part 4: Fixing Broken Clips or Wefts
Step 1: Repair broken clips
If you have broken clips on your extensions, you can easily replace them. Remove the damaged clip by unpicking the thread and attaching it to the weft. Sew a new clip in its place, ensuring it is securely attached.
Step 2: Mend broken wefts
If you have a damaged weft, carefully sew it back together using your curved needle and thread. Ensure the weft is securely reinforced to prevent further damage.
Part 5: Trimming and Styling
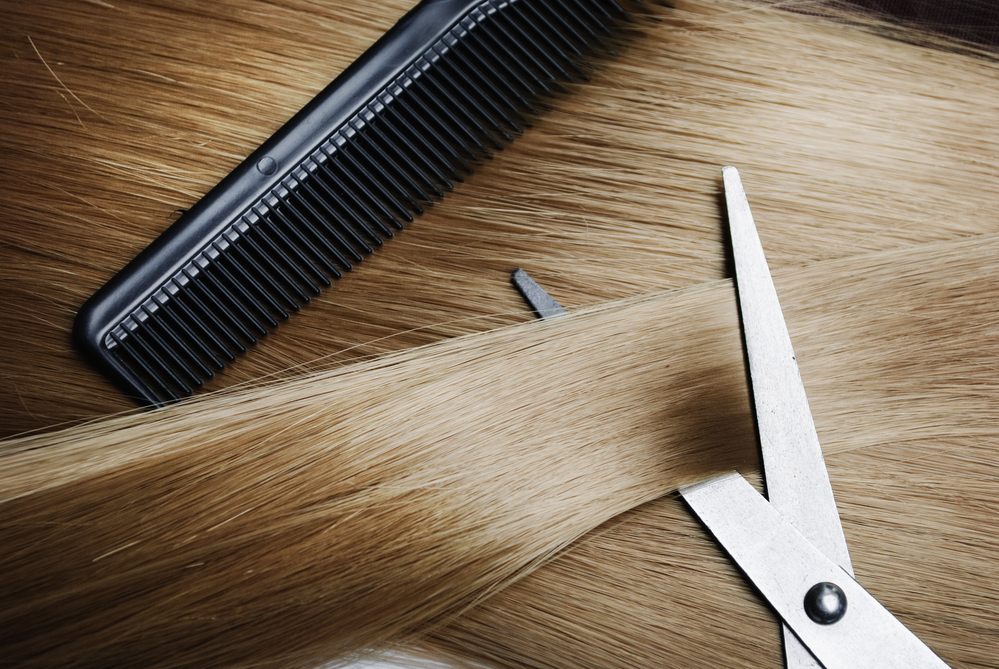
Step 1: Trim the extensions
Trim any split ends or uneven lengths to give your extensions a fresh and polished look. Use sharp scissors and cut small sections at a time to avoid overcutting.
Step 2: Style as desired
Once your extensions are clean and repaired, style them just like you would with your natural hair. You can curl, straighten, or add waves to achieve your desired look.
Part 6: Maintenance Tips
Step 3: Prevent future damage
To keep your repaired hair extensions looking their best, follow these maintenance tips:
– Avoid excessive heat styling.
– Use sulfate-free and silicone-free hair products.
– Store extensions in a cool, dry place when not in use.
– Brush them gently with a wide-tooth comb to prevent tangling.
With proper care, your repaired hair extensions can continue to enhance your hairstyle for a long time.